 View larger


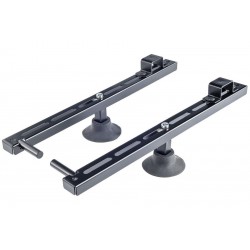
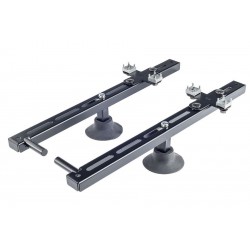
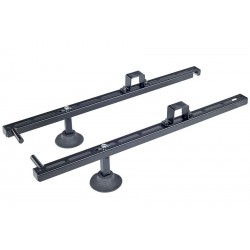
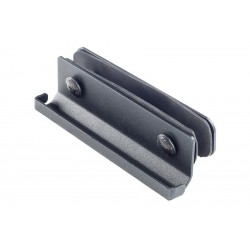
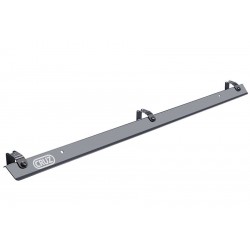
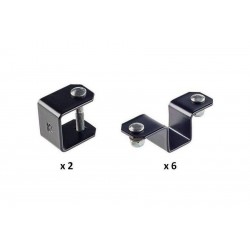
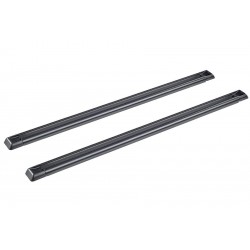
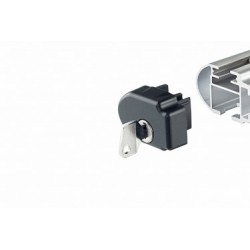
CRUZ T-Tracks kit 0.5m
941-320
CRUZ Aluminium T-Tracks – sold as a pair. This listing is for a pair of 0.5m long tracks, other sizes are available, contact us for more info.
$120,00 incl GST
More info
CRUZ Aluminium T-Tracks – sold as a pair. This listing is for a pair of 0.5m long tracks, other sizes are available, contact us for more info. Includes alloy rivets and track end caps. Bars sold separately.
Aluminium track with black powder coating, designed to be riveted to a strong, flat section of a vehicles roof. It is recommended that these T-Tracks are installed by an experienced professional installer- CRUZ cannot accept responsibility of any damage caused by the work done by a 3rd party.
CRUZ TRACKMOUNT INSTRUCTIONS
Please read the below ‘step by step’ instructions carefully. If you are unsure about any of the below steps, do not proceed with the install. Active Imports NZ Ltd is not liable for any damage caused by a 3rd party incorrectly installing or causing damage using a trackmount system.
- Place the end caps on the tracks.
- Place the tracks on the roof of the vehicle in a flat/strong section of the roof (flat steel section just inside the roof ditch is often ideal).
- Assemble the roof racks and loosely fit them onto the tracks to ensure the bars are the correct length for the job and everything will work the way you intend it to.
- MAKE SURE YOU ARE HAPPY WITH EVERYTHING – THE POSITION OF THE TRACKS AND BARS, THE HEIGHT OF THE BARS ETC BEFORE YOU MARK THE HOLES TO BE DRILLED.
- After confirming 100% that everything is going to work and you’re happy with the position of the tracks and bars, remove the roof rack bars from the tracks.
- Use at least two people to carefully hold the tracks in place and use a marker pen to mark the roof through each of the holes in the tracks. Ensure that the two tracks are in the same position on opposite sides of the roof.
- Then remove the tracks from the roof, ensuring that they will be able to be returned to the roof in the same orientation.
- Use a centrepunch to mark each drill hole position on the roof to ensure your holes will be drilled accurately.
- Use a 5mm drill bit WITH A DRILL STOP SET TO 5MM DEEP (TO AVIOD DRILLING THROUGH THE INTERNAL VEHICLE ROOF LINING). Drill the holes that have been marked out on the roof of the vehicle – ensure a vacuum is used to remove the steel swarf that is drilled out of the roof.
- Ensure all steel swarf has carefully been vacuumed up and cleared away from the vehicle.
- Put the rivets into the tracks and place each track on the roof to ensure the drilled holes all line up and the rivets fit into each drilled hole.
- IF THE DRILLED HOLES ALL LINE UP WITH THE RIVETS IN THE TRACKS, remove the tracks.
- Use an anti-corrosion paint (rust guard or cold galv) to touch up the exposed bare steel on each hole that has just been drilled.
- After the anti-corrosion paint has dried, place a small dab of silicon into and around each hole.
- Carefully expose the double sided mounting foam on the underside of the tracks.
- With the rivets in the tracks, carefully lay the tracks into place on the roof- one rivet at a time. ENSURE THIS IS DONE CAREFULLY SO ALL RIVETS LINE UP AND GO IN- THE DOUBLE SIDED MOUNTING FOAM ADHESIVE IS EXTREMELY STRONG, YOU ONLY GET ONE CHANCE TO GET THIS RIGHT.
- Once the tracks have been laid and the rivets are all in place, pop all the rivets.
- After all rivets are popped, re-fit the roof racks onto the tracks and tighten them on.
30 other products in the same category:
-
CRUZ Set of Supports for extended Roller 30x20 bars
-
CRUZ Supports for extended Roller 35x35 or 44x39 bars
-
CRUZ Extended Roller Supports- new profile AF bars
-
CRUZ Artificial Rain Gutters for Optiplus kit -10cm
-

CRUZ Artificial Rain Gutter 16cm (for 1 bar)
-
CRUZ Artificial Rain Gutters for 1 bar - M Supports
-
CRUZ Wind Deflector (Aerofoil) for 35x35 SF-140
-

CRUZ Wind Deflector (Aerofoil) for SF160/175 Bars
-
CRUZ Walkway 78
-

CRUZ Walkway 95
-

CRUZ Walkway 128
-
CRUZ Fit Kit for 2 walkways on N+ series
-
CRUZ fixation kit for 3 Walkways for N+ Series
-
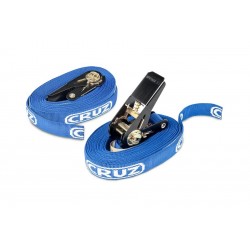
CRUZ Ratchet Straps (two X 5 meter long straps)
-
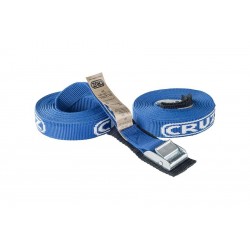
CRUZ Camlock Straps - set of two X 3m tie downs
-
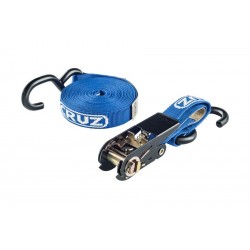
CRUZ Ratchet Strap - one x 5m strap with S-hooks
-
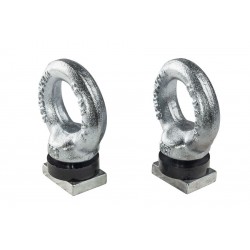
CRUZ 2x Eye Bolt for T-Track
-

CRUZ T-Tracks kit 1m
-
CRUZ T-Tracks kit 1.5m
-

CRUZ Safari kit for T-tracks- 4 supports
-

CRUZ Safari kit for T-tracks- 6 supports
-

CRUZ Fit kit for Modul Carriers to 30x20 bars - set 4
-

CRUZ Fit kit for Modul Carriers to 35x35 bars - set 4
-

CRUZ Fit kit for Modul Carriers to 30x20 - set 6
-

CRUZ Fit kit for Modul Carriers to 35x35 - set 6
-

CRUZ Fit kit for Modul Carriers to ALU bars - set 4
-
CRUZ Fit kit for Modul Carriers to ALU bars - set 6
-

CRUZ Fit kit for MA/MB Carriers to ALU bars - set 4
-
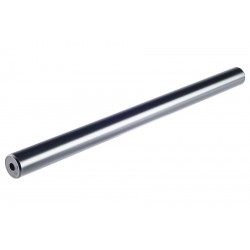
CRUZ Roller 140cm
-
CRUZ set of 4 locking end caps for AF Commercial Alu bars